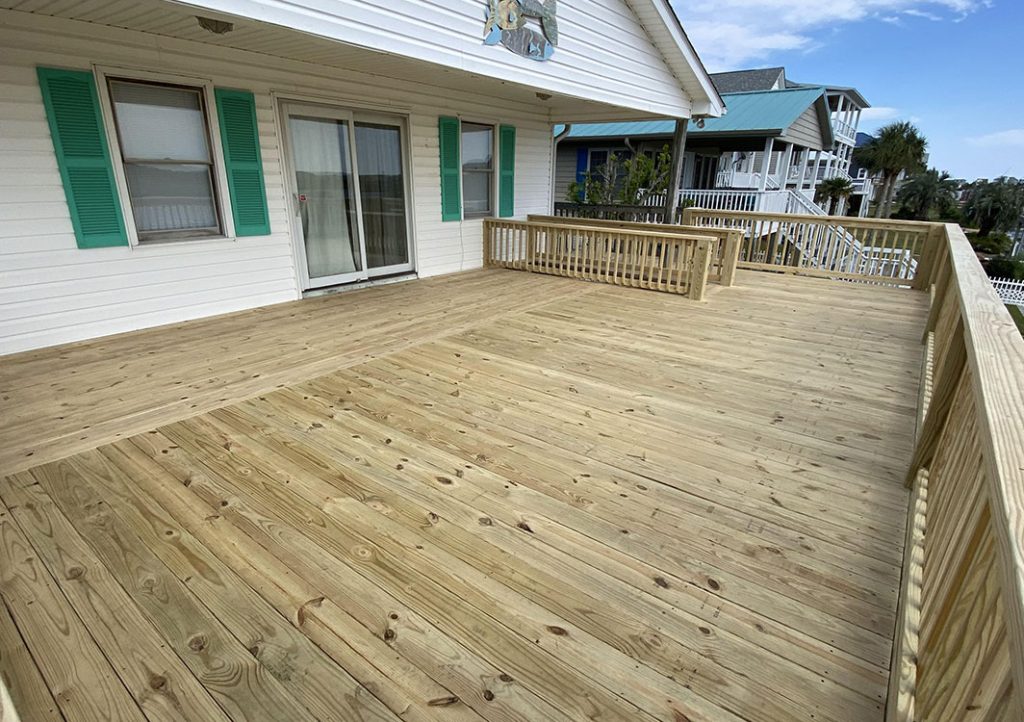
Create An Amazing New Place For Your Backyard And Make The Most Of Your Home
It isn’t easy to build a deck, mainly because it takes hard labor and lots of measuring. It can take several days to a week to build a deck yourself.
But, the work will be worth it when you’re hosting friends or relaxing on your deck after work.
If you don’t want to do the work yourself, you can trust Raynor Shine Construction to build an incredible deck you’ll love.
As one of Raleigh’s best deck construction companies and the surrounding areas, we’ll make sure your deck is safe and beautiful.
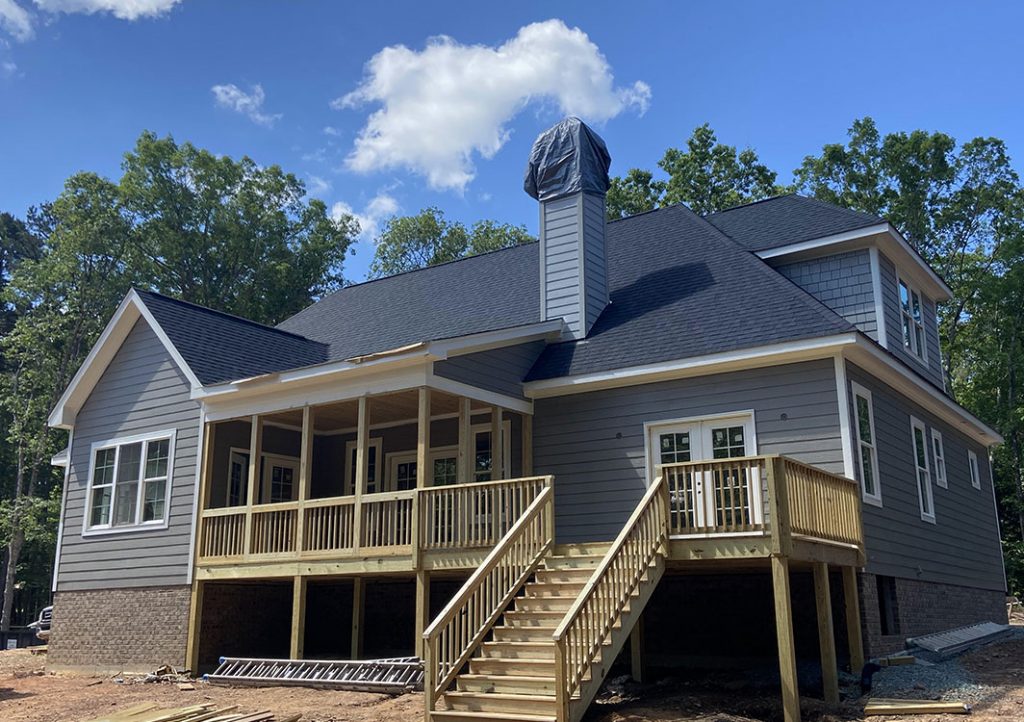
How To Build A Deck In 9 Steps
This process is for a simple, low-level deck. You don’t need to worry about posts, steps, or railings.
1. Check if you need permits
It would be terrible if you’re in the middle or just finishing your deck, and the city or municipality tells you to tear it down.
Checking for permits can help you avoid this. You’ll be able to build the proper deck for your area and enjoy it without worry.
The usual rules to build a deck in North Carolina are decks built more than 30-inches higher than the adjacent grade will need a permit. Any decks under 30-inches won’t as long as they aren’t larger than 200 square feet, aren’t fixed to the house, and aren’t serving a required exit door.
2. Design your deck
Some things to consider:
- Do you want it at ground level or raised? Raised decks need railings and stairs. Ground-level decks aren’t as expensive because they take less time, labor, and materials.
- What kind of material do you want to use? Wood and composite material are what most people choose.
- How big do you need it to be? This comes down to what you want to do with your deck. Think about what you want to put on it and the number of people you want to fit on it. Build a deck to fit your needs.
3. Attach the ledger
Start by taking off your home’s trim and siding to a foot above where the ledger’s top will be. Cover it with a self-adhering waterproof membrane.
Any step down to the finish decking, which is on top of the ledger, must be 4 to 7¾ inches below the door sill. Cut spacers and attach them to just below whether the ledger will sit. Put the ledger on the spacers and nail it in place.
You may want to know deck terminology.
4. Protect the ledger
Attach a self-adhering waterproof membrane to the ledger. Add metal flashing over the membrane and nail it down. This will help you build a deck of higher quality.
5. Set footings and piers
Determine where the footings will go using batter boards and mason strings. Dig holes where the footings will go, making sure they’re wide enough for the post and deeper than the frost line.
Assemble the footings and piers and place them in the holes, backfilling each one. Fill the rest of the hole with concrete and let it cure for a week.
6. Install post bases and side rim joists
Put a post base on top of a pier and mark the location. Drill into the top of the post and use an anchor bolt and impact wrench to hold the post base in place.
Create rim joists and beams from pressure-treated 2x stock wood. Glue them and nail them together from both sides. This helps you build a deck that’s more solid.
Fit a side rim joist into a joist hanger at one end of the ledger, square the corner, and toenail it through the hanger into the ledger with nails. Put the joist’s other end on a corner pier.
7. Install front rim joist, beams, and interior joists
Attach double joist hangers on the ends of the front rim joist’s inner wood pieces. Then put the inner wood pieces into the post bases.
Put a side rim joist into a front hanger and square the corner. Secure the front rim joist wood piece to the post bases with hanger nails. Then put nails through the face of the front rim joist into the end of the side rim joist. Repeat with the other side rim joist. Attach face-mounted double joist hangers for beams along the front rim joist and ledger.
Fit and nail each beam following the same process.
Complete the doubled front rim joist by gluing and nailing the outer wood pieces to the inner wood pieces. Install joist hangers along the beams.
Finally, fit and toenail joists through the hangers.
8. Attach the trim and decking
Now we get to the last step for how to build a deck.
Nail trim boards to rim outer joist faces. Scarf any joints in the run and miter joints at the corners.
Cut your deck boards the length of the wall to the outside trim board plus an inch.
Add a polyurethane marine sealant along the top edge of one of the side rim joists and lay the board down. Fasten the board by adding finish nails at each end. Add finish nails to the joists running along the first board. This helps you keep the same spacing so your deck looks even.
Follow this process until you finish your deck.
Finally, add siding back to your house within a half-inch of the decking.
Build A Deck You And Your Family Will Love For Years To Come
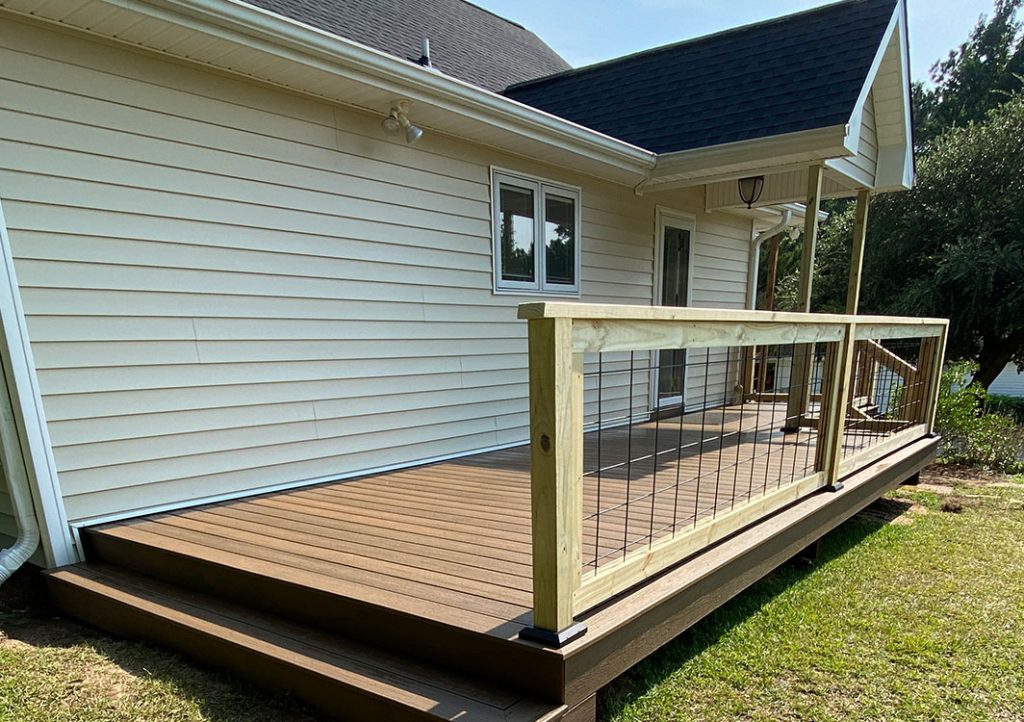
Not everyone has the time or energy to build their own deck. In that case, you can rely on Raynor Shine Construction! We’ll help you create a deck that’ll make everyone in your friend group and neighborhood want one.
Contact us when you’re ready to talk about your deck-building project. Or, you can visit our deck-building page.
Related Local Deck Building Business
Check Out Some Of Our Recent Posts
How Much Does it Cost to Build a Deck in 2025
Thinking about building a deck this year? You’re not alone. With more people staying home and investing in their outdoor space, decks have become one
HOA & Historic District Deck Rules in Pinehurst: What Homeowners Need to Know
If you’re a homeowner in Pinehurst, especially in neighborhoods like Old Town Pinehurst or the Country Club of North Carolina (CCNC), you probably know that
The Best Deck Materials for North Carolina’s Humid Climate: What Works in Fuquay-Varina & Holly Springs
Let’s be honest—if you’ve spent even one summer in Fuquay-Varina or Holly Springs, you already know how tough the North Carolina humidity can be. The
